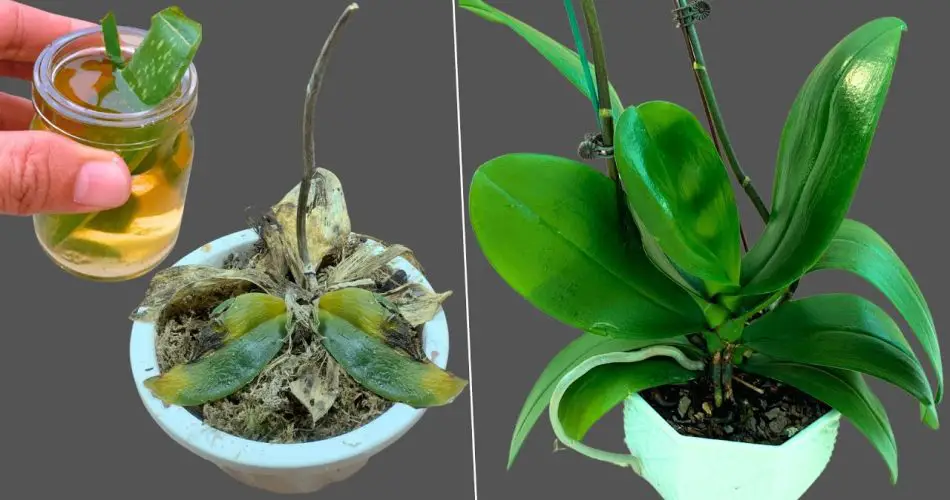
Orchids are beloved for their stunning blooms and graceful foliage, but leaf rot can be a common problem that affects their health and beauty. If your orchids are suffering from this issue, don’t despair. Here are 5 simple tips to help you revive and restore your orchids, ensuring they flourish once again.
1. Remove Affected Leaves
The first step in addressing leaf rot is to remove any affected leaves. Leaves that show signs of rot are often discolored, soft, or mushy. Follow these steps:
- Inspect your orchid carefully and identify any leaves that are suffering from rot.
- Use clean, sharp scissors or pruning shears to cut off the affected leaves at their base.
- Dispose of the infected leaves to prevent the spread of rot to healthy parts of the plant.
2. Improve Air Circulation
Leaf rot often thrives in stagnant and humid conditions. Improving air circulation around your orchid can help prevent further rot and promote recovery:
- Place your orchid in a location with good airflow, such as near a fan or in a well-ventilated room.
- Avoid overcrowding your orchids with other plants to ensure they have adequate space for air to circulate.
3. Adjust Watering Practices
Overwatering is a common cause of leaf rot. Proper watering is crucial to prevent further damage and help your orchid recover:
- Allow the potting mix to dry out between waterings. Orchids prefer a slightly dry environment compared to constantly wet conditions.
- Check the moisture level by inserting your finger into the potting mix. If the top inch is dry, it’s time to water. If it’s still moist, wait a bit longer.
- Ensure proper drainage by using pots with drainage holes and avoid letting your orchid sit in excess water.
4. Treat with Anti-Fungal Solutions
If leaf rot is caused by a fungal infection, treating your orchid with an anti-fungal solution can help combat the problem:
- Use a commercial anti-fungal spray or solution that is safe for orchids. Follow the instructions on the label for application rates and frequency.
- Alternatively, you can use natural remedies like a solution of water and cinnamon or water and baking soda to treat fungal infections. Apply these solutions to the affected areas.
5. Repot if Necessary
In severe cases, repotting your orchid might be necessary to save it from leaf rot and improve its overall health:
- Remove the orchid from its pot and inspect the roots. Trim away any rotted or dead roots using sterilized scissors.
- Clean the pot and replace the old potting mix with fresh, well-draining orchid mix.
- Repot the orchid, ensuring it is positioned at the correct depth and that the potting mix is evenly distributed around the roots.
Benefits of These Tips
- Effective Treatment: Addressing leaf rot with these steps can significantly improve the health and appearance of your orchids.
- Prevention of Further Damage: By improving conditions and care practices, you can prevent the recurrence of leaf rot and other related issues.
- Promotes Overall Health: Proper care and treatment will help your orchids recover and thrive, leading to beautiful blooms and vibrant foliage.
Final Thoughts
Reviving orchids with leaf rot involves a combination of corrective actions and preventative measures. By following these five simple tips—removing affected leaves, improving air circulation, adjusting watering practices, treating with anti-fungal solutions, and repotting if necessary—you can help your orchids recover from leaf rot and enjoy their stunning beauty once again. Embrace these strategies and watch your orchids return to their vibrant, healthy state!