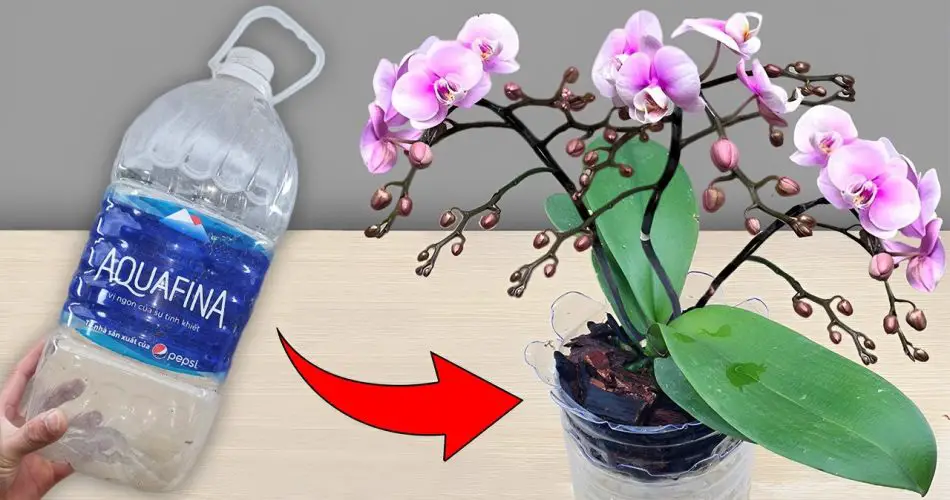
Orchids are celebrated for their exquisite beauty and intricate blooms, but achieving consistent success with these stunning plants can sometimes be challenging. If you’re looking for a reliable method to ensure your orchids take root quickly and continue to bloom throughout the year, using a water bottle might be the solution you’ve been searching for. This simple yet innovative technique offers an effective way to promote healthy root growth and sustained flowering. Here’s how to use a water bottle to revolutionize your orchid care routine.
The Concept Behind Using a Water Bottle for Orchids
The water bottle method involves using a common household item to create an optimal environment for rooting and growth. The benefits of this technique include:
- Controlled Environment: A water bottle provides a humid, controlled environment that encourages root development.
- Consistency: It helps maintain consistent moisture levels, reducing the risk of overwatering or underwatering.
- Simplicity: This method is straightforward and doesn’t require specialized equipment.
How to Grow Orchids Using a Water Bottle
- Select the Right Water Bottle:
- Choose a clean, transparent water bottle with a capacity of about 1-2 liters. The transparency allows you to monitor root development easily.
- Prepare the Water Bottle:
- Clean the Bottle: Wash the bottle thoroughly to remove any residue or contaminants.
- Cut the Bottle: If needed, cut the bottle to create a suitable opening for inserting the orchid and its roots. Alternatively, you can use the bottle as is for a more controlled environment.
- Prepare the Orchid:
- Choose Healthy Cuttings: For best results, select healthy orchid cuttings or seedlings. Ensure they have strong, healthy roots.
- Trim the Roots: If the orchid has long roots, trim them slightly to fit inside the water bottle.
- Setup the Bottle Environment:
- Add Water: Fill the bottom of the bottle with clean, distilled water. Ensure the water level is high enough to reach the roots but not so high that it causes rot.
- Insert the Orchid: Place the orchid into the bottle, ensuring the roots are submerged in the water. For better stability, you can use potting medium or a small mesh net inside the bottle to hold the orchid in place.
- Create a Humid Environment:
- Cover the Bottle: Seal the top of the bottle with a plastic wrap or lid to maintain high humidity and prevent excessive evaporation.
- Place in Indirect Light: Position the bottle in a location with bright, indirect sunlight. Avoid direct sunlight, which can cause overheating.
- Monitor and Maintain:
- Check Water Levels: Regularly check the water level and top up as needed. Change the water every 2-3 weeks to prevent stagnation and the buildup of harmful substances.
- Monitor Root Growth: Observe the roots through the transparent bottle. Healthy roots will begin to develop and expand within a few weeks.
- Encourage Blooming:
- Fertilize: Once the orchid has established roots, apply a balanced orchid fertilizer to support ongoing growth and blooming.
- Adjust Care: As the orchid matures, consider transitioning it to a more traditional potting setup if desired, or continue using the water bottle method for long-term growth.
Additional Tips for Success
- Avoid Overcrowding: Ensure that the bottle is not overcrowded with orchids. Each plant needs sufficient space to develop roots and thrive.
- Provide Proper Air Circulation: If using a cover, occasionally remove it to allow for fresh air circulation and prevent mold growth.
- Monitor Plant Health: Regularly check for signs of disease or pests and take action as needed to maintain plant health.

Using a water bottle to grow orchids is a simple and effective method for promoting rapid root development and continuous blooming. By creating a controlled, humid environment and maintaining consistent care, you can help your orchids thrive and enjoy their stunning blooms throughout the year. Embrace this innovative approach to orchid cultivation and watch your plants flourish with vibrant, long-lasting flowers.