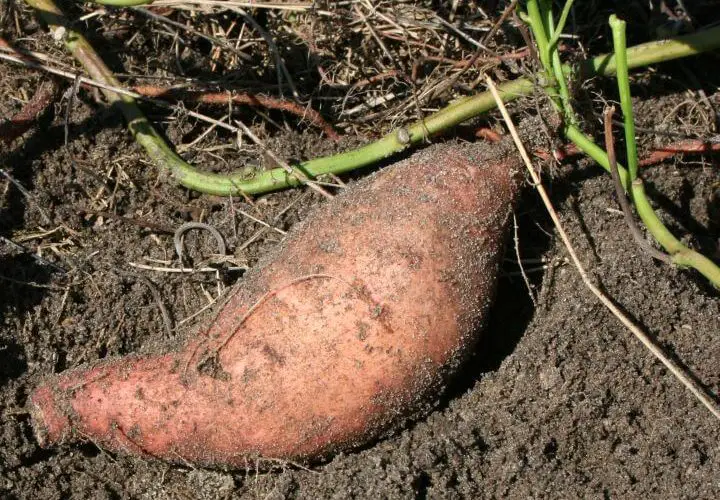
Discovering the joy of cultivating sweet potatoes in your backyard can be both satisfying and uncomplicated, avoiding the intricacies of dealing with traditional seeds. The secret lies in initiating the process with cuttings from a mature sweet potato. Here’s your comprehensive guide to creating a thriving sweet potato haven with simplicity in mind.
- Procure Your Sweet Potatoes:
Unlike most vegetables that germinate from regular seeds, sweet potatoes originate from cuttings. While online plant purchases or finding a local nursery (though rare) are options, a more budget-friendly approach involves utilizing sweet potatoes from the store, preferably organic, or those from your existing sweet potato garden. When shopping, take note of whether your sweet potato is of a trailing or climbing variety. - Prepare Your Cuttings:
Assemble a handful of robust sweet potatoes, as each has the potential to yield up to 50 leafy cuttings. After a thorough wash, slice the sweet potatoes into halves or sizable sections. Submerge each section in a pot or glass of water, ensuring half of the potato is underwater, and use toothpicks to secure it in place. Position the cuttings on a windowsill or radiator to provide the necessary warmth. In just a few weeks, witness the emergence of leafy shoots on top and roots at the bottom. - Rooting Your Sweet Potato Cuttings:
Once your sweet potatoes have grown leaves and small roots, the next step is to separate them into individual plants. Gently detach each cutting from the sweet potato and place them in a shallow bowl, with the bottom half submerged in water and the leaves resting on top. Within days, roots will begin to sprout. When the roots reach approximately 3cm, it’s time to plant the new saplings. Maintain fresh water and discard any cuttings that show no signs of root development or exhibit signs of decay. - Planting Your Cuttings:
Armed with a small hand trowel, create holes about 10cm deep and 7cm wide. Plant a sweet potato in each hole with the roots facing downward and the upper half, adorned with new leaves, above the ground. Gently fill the hole with soil to ensure the delicate plants remain undamaged. Press down on the soil to secure the plant and eliminate any lingering air pockets. Repeat this process until all your sweet potato plants are securely in place. - Watering Routine:
After planting your sweet potato cuttings, provide them with a thorough watering. Ensure the surrounding soil is adequately moist, ceasing watering just before the onset of erosion. During the initial week, water the newly planted cuttings daily, followed by every other day in the second week. Adjust the watering schedule according to the weather and soil moisture levels. While sweet potatoes can endure periods of drought, consistent watering, especially during the scorching days of summer, ensures optimal productivity.
By following these straightforward steps, you’re well on your way to a flourishing harvest of sweet potatoes from your very own backyard garden.
Show Comments


