Crafting with Cement: A Step-by-Step Guide to DIY Cement Projects
Cement is a versatile material that opens the door to a myriad of creative possibilities in the realm of DIY projects. In this article, we provide a step-by-step guide on how to make cement and embark on your own exciting cement craft endeavors.
Materials Needed:
- Portland Cement: Choose a high-quality Portland cement, readily available at hardware stores. This type of cement is commonly used for DIY projects due to its versatility and durability.
- Sand: Use clean, fine sand as an aggregate to enhance the strength and workability of the cement mix.
- Water: The key to a successful cement mix is finding the right balance of water. Aim for a consistency that is neither too dry nor too runny.
- Mixing Container and Tools: Use a sturdy mixing container, such as a wheelbarrow or a large plastic tub, and have a shovel or hoe for mixing.
Step 1: Safety First
Before diving into the world of cement crafting, prioritize safety. Wear protective gear, including gloves and a mask, to shield yourself from dust and potential skin irritation.
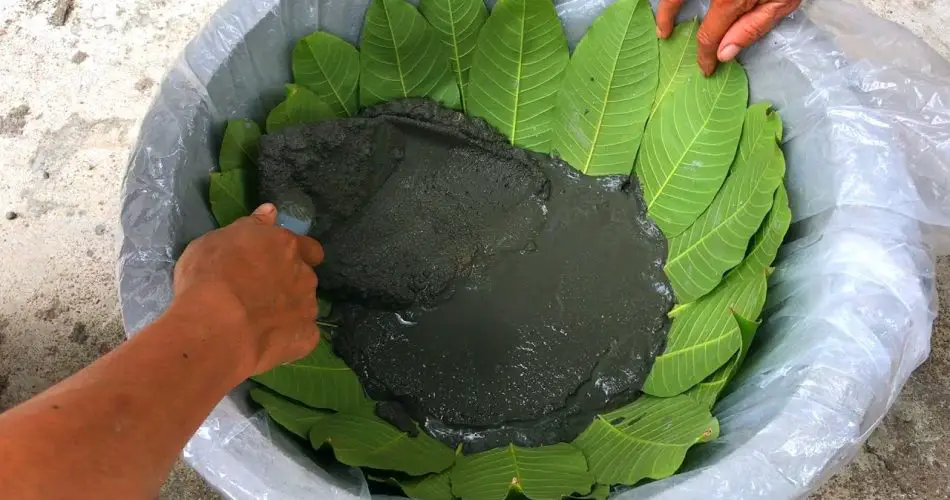
Step 2: Mixing the Cement
- Start by combining the dry ingredients. In your mixing container, blend one part Portland cement with three parts sand. Thoroughly mix the dry components to ensure an even distribution.
Step 3: Adding Water
- Gradually add water to the dry mix. Start with a small amount and mix it in thoroughly before adding more. The goal is to achieve a workable consistency, similar to thick pancake batter.
Step 4: Consistency Check
- Test the consistency by forming a ball of the cement mix in your hand. It should hold its shape without being too crumbly or too wet. Adjust the water or dry mix accordingly.
Step 5: Crafting Your Project
- Once you have the desired consistency, you’re ready to shape and mold your cement. Whether you’re creating planters, stepping stones, or decorative sculptures, use molds or free-form shaping techniques to bring your vision to life.
Step 6: Curing Process
- Allow your cement creation to cure and harden. This typically takes at least 24 hours, but curing times may vary based on the size and thickness of your project.
Step 7: Finishing Touches
- Once fully cured, you can sand the surface to smooth out any rough edges or imperfections. Feel free to add paint or sealant to enhance the appearance and durability of your finished project.
Benefits of DIY Cement Projects:
- Versatility: Cement can be molded into various shapes and sizes, making it suitable for a wide range of projects.
- Durability: Properly cured cement projects are durable and can withstand outdoor conditions, making them ideal for garden or patio decorations.
- Affordability: DIY cement crafting is cost-effective, as the materials are readily available and the process is relatively simple.
Embark on your cement crafting journey armed with the knowledge of creating your own cement mix. Whether you’re crafting functional items like planters and stepping stones or exploring the realm of artistic sculptures, the versatility of cement makes it an exciting medium for DIY enthusiasts. Follow these steps, unleash your creativity, and watch as your cement projects become tangible expressions of your artistic vision.