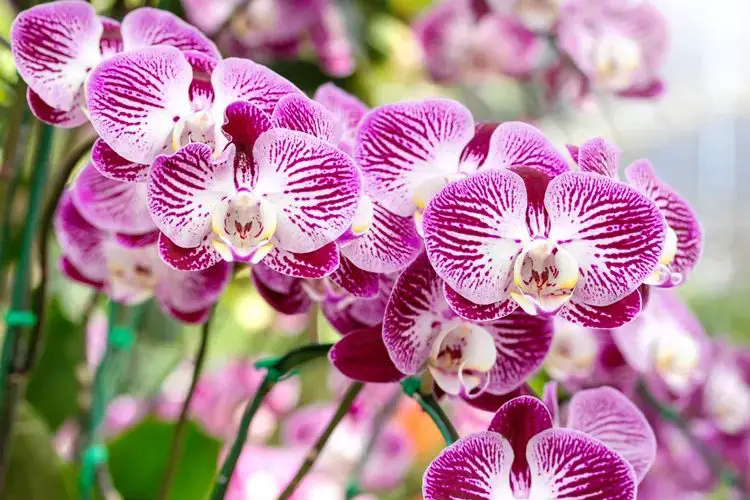
Growing orchids can be a rewarding experience, especially when you propagate them from leaves. Here’s how you can succeed with this method.
When to Take Cuttings from an Orchid?
To propagate orchids successfully, take cuttings after the plant has finished flowering. This timing ensures optimal conditions for root development. Exceptions include keikis, which are seedlings growing on flower stalks and can be propagated when they develop roots, regardless of the season.
Can You Take a Cutting from an Orchid Leaf?
While opinions vary among experts, propagating orchids from leaves is possible, though not always guaranteed. Leaves lack the specialized cells found in stems, which are crucial for initiating growth. However, many enthusiasts have successfully grown new orchids from leaves, so it’s worth trying.
How to Grow an Orchid from a Leaf?
- Prepare Materials: Gather a disinfected cutter, a clove of garlic, liquid rooting hormone, a pot, and orchid substrate.
- Take the Leaf Cutting: Select a healthy, green leaf from the lower part of the orchid after it has finished flowering. Carefully remove it without damaging the plant.
- Prepare the Leaf: Trim the bottom of the leaf to a lighter green shade. Rub the cut area with a halved clove of garlic to prevent fungal infections and strengthen the plant.
- Encourage Root Growth: Dip the cut end of the leaf in rooting hormone to stimulate root development.
- Plant the Leaf: Fill a pot with orchid substrate and plant the leaf, ensuring it is securely positioned. Spray both the soil and the leaf with water to maintain moisture.
- Monitor Growth: Place the pot in a warm, bright location but avoid direct sunlight. After about 30 days, new roots should start to emerge.
By following these steps, you can increase your orchid collection without purchasing new plants, making it a cost-effective and satisfying endeavor for any orchid enthusiast.